Thursday, August 11, 2011

New dress plans

Yesterday I've received my first Colette pattern. I can't believe how beautiful the packaging is!
I choose the Ceylon dress, which is a fourties style shirtdress:
"Shirt dress with inset waist, slightly dropped and curved waistline, and curved neckline yoke. Gathers at the bust provide fullness, while the skirt is gathered at the front and generously flared. Sleeves are short and puffed. Closes with 16 buttons down the center front."
as stated on the website of Colette patterns


There is a little booklet with the instructions sewn into the pattern enveloppe:


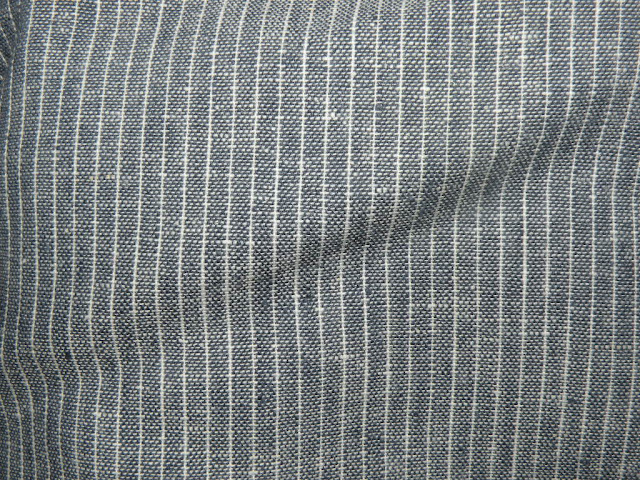
And here is the fabric I choose, a linen-cotton mix, greyish blue with white stripes. I think It will look beautyful!
First up to the muslin...

Monday, August 8, 2011

Do you sew-along?

Sew-alongs are a great way to learn how to sew your garments correctly and to get a few handy tips along the way. All of it is step by step, with lots of pictures, questions and answers.

There are several sew-alongs in progress right now, I think all of these are suited for a beginner/novice level:


Lonsdale dress sew-along at Sewaholic

Rooibos sew-along at Coletterie Colette patterns

Butterick walkaway dress sew-along at Edelweiss Patterns


Of course, there are a lot of sew-alongs - already finished, but on the internet you can look up every step of them: the Crescent skirt and Pendrell blouse at Sewaholic, the Lady Grey coat on Gerties blog Gertie's blog for better sewing, and the 40's swing dress on the blog on Casey's elegant musings.


If you look for an intermediate course, there is of course The Bombshell dress course of Gertie. This one is not free, it is a video-course on Craftsy, but worth every penny! I signed in, and right now I'm working on ideas for the dress I want to make. Great thing is, that I have the issue of the Burda magazine with the pattern in it.

Do you sew-along? I must admit, for me it is a problem to do things bit by bit. If I'm into a project, I really like to go and finish it asap! (You see, I really wanted to sew-along the Lonsdale dress, but now, halfway the sew-along I already finished two of them...) But I love to read sew-along posts because I learn a lot and get new ideas on how to do things.

The 'Rainy summer' dress


Well, the sun is back for a while so here are a few new pics.
And a review
Fabric: Gingham-style cotton
Pattern: Sewaholic Lonsdale dress
Time to complete: about 2x5 hours, mainly because of matching the fabric. For the same reason cutting the pieces took almost as long as sewing the dress...

The Lonsdale is my favorite summer 2011 pattern!
It goes together really easy, there are just a few pattern pieces. The fit is great, partly adjustable with the strapes. My bodice is made up from two sizes, size 6 at the waist and 8 around the bust and it fits just perfect! Adjusting the pattern pieces is easy as well. I really love the flared skirt on this dress!
What I did differently: I used an invisible zipper on my dress instead of a regular one and to save on my fabric I used a different fabric for lining the bodice pieces.


Sunday, August 7, 2011

The 'Where is the sun'/'Rainy summer' dress is finished!


So, where is the sun?!


Invisible zipper on the maxi dress

If you follow the steps on the Lonsdale instruction sheet that comes with the pattern:
- skip the basting of the lower edges at step 4.
- Instead step 5 and 6 attach the waistbands, stitch one to the outer layer and one to the inner layer. Keep the layers apart!
- Go to step 7. Follow the steps from 7 to 11 (you end with assembling the skirt)
- Attach the skirt to the outer layer waistband just as instructed in step 12

After attaching the skirt to the waistband insert the invisible zipper (sew it to the outer layer of the dress)
There are many tutorials on the net, like this one


Here is the invisible zipper foot, the needle is placed in the middle for stitching the zipper:


This how the dress looks like from the inside. On mine the white is the inner layer of the bodice, with the waistbands attached. (I didn't finish the seamline on the back of the skirt yet, but this is the way how I learned to do it...)


Turn the two bodice layers inside out, the wrong side of the inner bodice is on the upside now:
(Leave the straps as they are, we only need to stitch at the sides of the bodice since the upper part is already finished!)


Here are the layers turned inside out: the wrong side of inner layer bodice (which I'm holding in the bottom picture) and the outer layer on the bottom with the invisible zipper attached. (don't forget, the invisible zipper is stitched on the right side of the fabric!)


I pinned the sideseams on top of each other and flattened the fabric towards the side which is above the zipper (on the right here, you can see a piece of it on the bottom right, under the waistband)


If you work carefully the seams of the waistbands match up (on top of the inner bodyce, on the bottom the outer layer with the invisible zipper):


Since we are working on the wrong side of the bodice, I pinned and stitched the sides together:


It is important to stitch close to the zipper. I used my invisible zipper foot again, but I placed the needle on the side instead of in the middle The zipper foot glides above the coils. If the needle is placed in the middle you sew right next to the coils where you attach the zipper to the fabric. If you place the needle to the side you sew a bit more to the side:


Here it is, the finished seam. I didn't go all the way to the bottom of the waistband, because I am going to slipstitch it to the inner waistband just like in step 13 of the Lonsdale instruction sheet. (You can now stitch the two waistbands together along the seamline of the bodice pieces, I just didn't) The zipper coils are not visible but they are on the inside, here on the left of the seamline.

You can see it here if you peek inside. Now you can do the other part of the zipper and when both finished turn the bodice layers inside out, now the right sides on the outside:


After turning the right sides out, press:


Here you can see that the zipper is sandwiched between the two layers. There is no need to finish the edges along the zipper because they are on the inside now.
Of course, you can sew the two waistbands on the seam where they are attached to the bodice pieces, you just can't stitch all the way to the sides, but that's not a big deal.
The only thing left now is slipstitching the waistband (step 13 on the Lonsdale instruction sheet)

Details on the maxi dress

After reading the Sewaholic sewalong post about stay tape I decided to reinforce the sides. I've got the one that you can iron on the fabric, there's no need to stitch it:


Matching the pattern on a side seam:


Matching the stripes. The seam finishing is the same as on my ' Butterfly garden' dress:


On the side seams tried to match the horizontal blue lines. You can't match the pieces everywhere because of the different grainline (picture on the left) The front and back skirt seam is matched both horizontally as vertically (picture on the right)


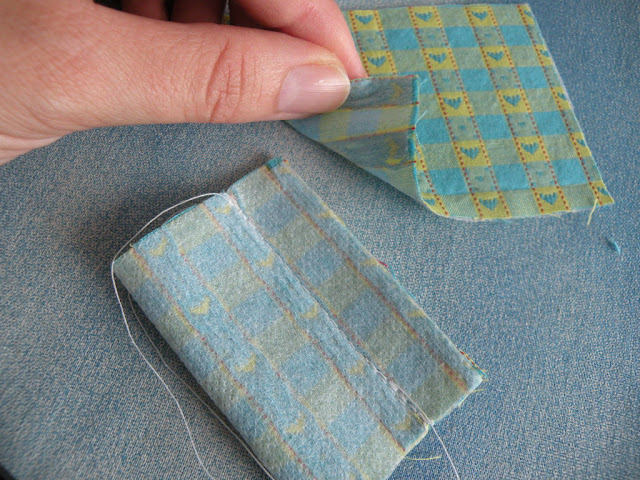
Making the loops. I find it easier to press the seams before turning them right side out, that way the seams stay open on the inside:


I pinned the pockets to match the stripes:


I've finished the lower edge of the pockets with a bias band (this fabric is really a horror to work with!)


Saturday, August 6, 2011

Cutting the pieces and matching, matching...

I've cut the pieces for the maxi-Lonsdale dress. It wasn't easy because of the gingham-like fabric.
First of all, I prewashed and ironed the fabric.
I cut the pieces on one layer. I like to do this anyway because it works better for me, it is more precise than cutting a folded fabric. For a gingham or a plaid first thing to do is to make the grainline clear visible on the pattern pieces. Usually there are short lines, I like to lenghten them from side to side and pin that line first on the fabric:


There are different ways to match the fabric. Since this fabric has small motifs the easiest way was to turn the cutted piece, match it and cut around it for the other half:


I've even matched the pocket pieces (on the side seam for the back)


I used a different, plain thin cotton fabric to cut the inner layer of the bodice back and the lower parts of the bodice front.