Thursday, October 31, 2013

How to adjust (ready-made) Roman blinds - tutorial


Before starting with the posts of a new knitting project here is a post on my current sewing project, how I made the Roman blinds for our living room!
The finishing touch before moving in our new home (beside to paint the staircases) is to make curtains. We have a huge bay-window at the front, more than 3 meter (=122 in) wide with almost 1 meter (=39 in) at the sides:


The most important goals were:
- block the view from the outside
- have enough daylight inside
- leave room for the cat to sit on the windowsill

We wanted something modern and clean looking. One of the problems with traditional curtains is that you need space to collect that much of fabric at the sides. Most types of window decoration seemed impossible to have it made in one piece because of the sizing (=too large). At the end of the day it seemed that nothing was available for less than 2000 euro's, and this included only the bay window, but not the others at the side and in the back. Of course, after a whole year of remodeling the house we didn't had that much of money to spend either...
That's when I decided to buy ready-made cord-operated roman blinds which were on sale (30% off) at our local diy store, and adjust the sizing and 'redo' the finishing myself.
  • the bright side:
  • - affordable
    - decent rail system
    - you buy the complete system with fabric in one package
    - the size is adjustable both in length as in width
    - the fabric is a linen-look polyester which is relatively dirt-resistant 
  • the downside:
  • - the fabric finish is ugly
    - you need to adjust the crocket sides anyway (at least, I wouldn't use them as they are)
    - the double-folded and badly stitched sides are cheap looking
    - the ready-made sizing is off
Before:
   

After remake:


calculate the finished measurements:
Whether you buy a ready-made system with or without the fabric, the first step is to calculate the finished measurements. There are two possibilities, you either hang the Roman blinds in the window-frame (left) or you cover the-window frame (right):


  • If you want to place the Roman blind inside the window frame (which is the method I choose) measure the inside of the window-frame. Now you need to make sure there is a little room at the sides and the bottom: distract about 1 cm at the bottom and at the sides. (the top of the shade is the top of the rail system so you don't need to adjust the measurements there)
  • When you cover the window-frame you just need to measure how big the shades should be. It is prettier to cover the window with enough fabric, so allow at least 4-5 inches (or more) extra at the sides, top and bottom. 
did you know...
When taking measurements inside a window-frame always measure in 3-4 different places, especially if you have old window-frames. Take the shortest measurement when calculating!
the steps:
First you need to detach the fabric from the system. To do this pull the cords out:


remove the rods and the bottom bar:
   

...and detach the fabric which is usually secured with velcro tape for easy cleaning:


As you can see my first blind wasn't looking great, it had crocket edges, but also quite well finished rod pickets with colored rings:


how to adjust:
1. unpick the seams
Start to unpick the edge seams, but leave the rodpockets intact.
Unpicking will take like 80% of the complete refashion project! As you can see there wasn't a lot of seam-allowance used at the edges:
   

Again, badly stitched, wobbly edges:
   

When unpicking the bottom seam, mark the place of the lower rings since these  will be removed:


2. Measure and mark the new outside edges.
To measure the new width measure outwards starting from the middle and also from the last rings at the sides to prevent crocket edges. Remember, the cords will pull the fabric in a straight line!


Mark the new outlines: this will be the finished outer edge of the shade


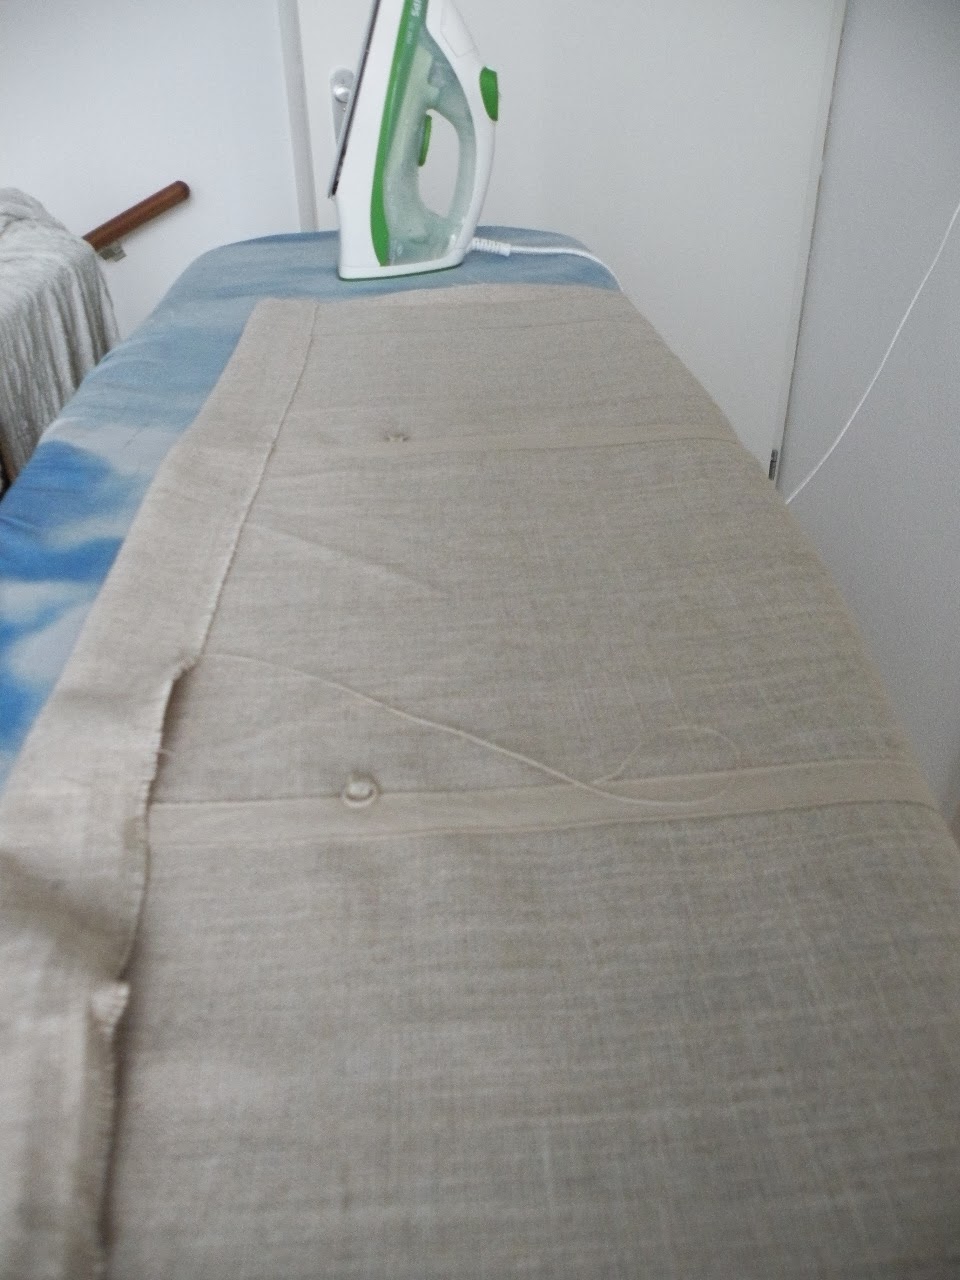
3. When finished fold back the edges all around and press.
(At this point we don't do anything with seam-allowances)


4. Unpick the last few cm's of the rodpockets on both ends, they will be sewn onto the side seams when finished:
   

5. Measure the seam-allowances
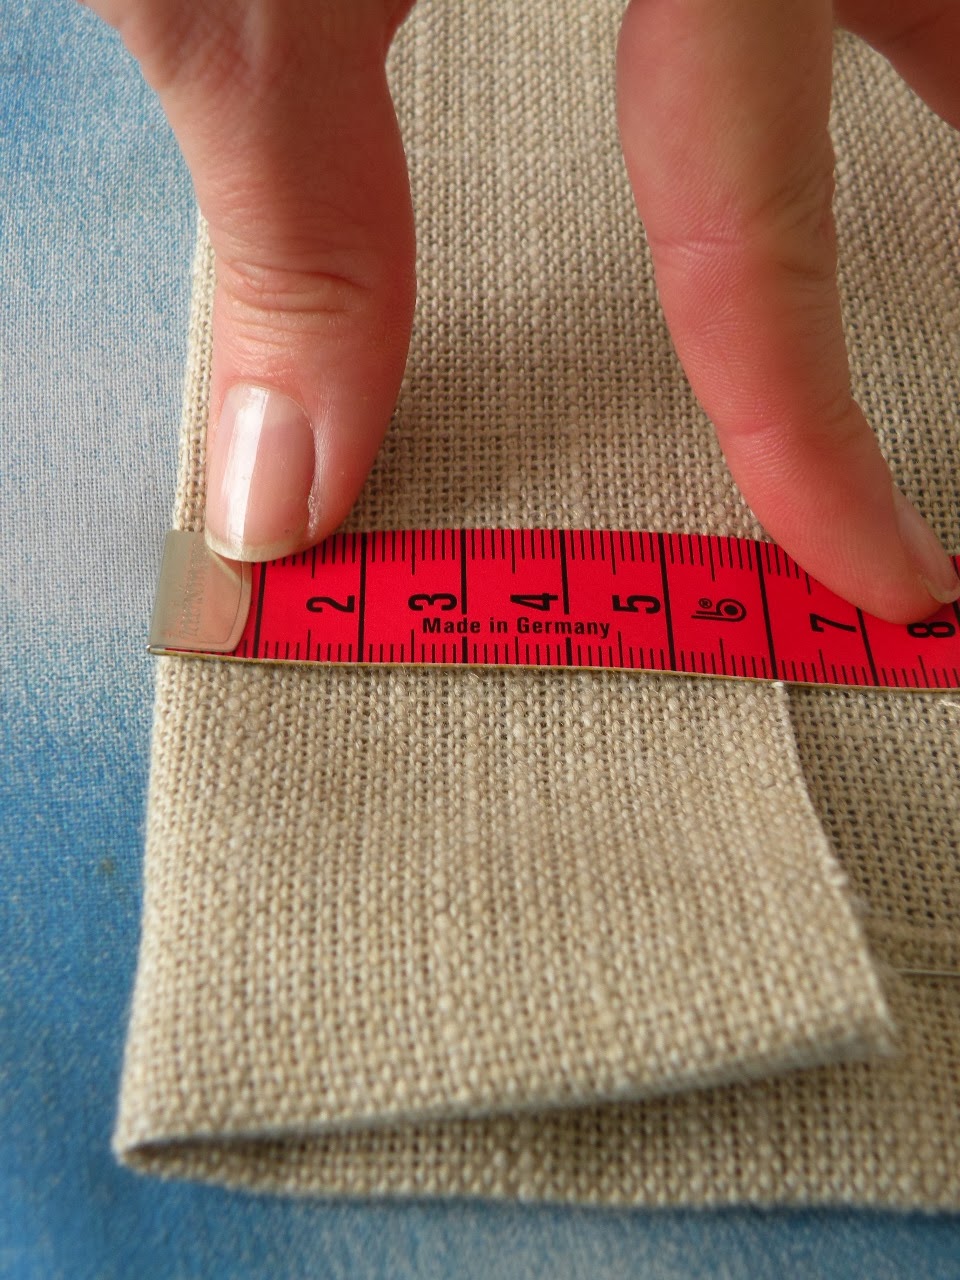
For the sides I used 2.5 cm (1 in) double-folded seams. If you have enough fabric left at the sides cut the edges a little smaller than 5 cm (2 in). If you don't have enough seam-allowance scroll down to the bias-tape method!
   

6. double fold the edges keeping the side and top seams 2,5 cm (=1 in) and press. It is easier to keep the edges straight if you press before sewing!
   

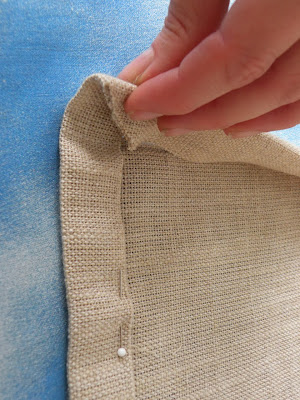
7. Pin the seams.
After doing the side-seams make the bottom pocket.
For the bottom bar I made a 3 cm wide seam, so I cut my fabric the double of that: 6 cm.
   

don't forget to place the bottom rings back before sewing!
   

8. Trim the corners to prevent bulkiness:
   

This one is all pinned and ready to sew!
Sew the sides first, then the bottom and the top.


Finished side- and bottom seams:


9. Sew back the edges of the rod-pockets:


10. Sew the velcro back.
Again, I used a 2,5 cm (1 in) double folded back seam.


seam finishing with bias tape:
There is not always enough fabric to make a double-folded 2,5 cm (1 in) seam. I used bias tape to solve the problem.


Place the opened bias tape along the fold line of the outer edge, pin and sew it to the seam allowance. (The bias tape I used is 2 cm wide with 0.5 cm edges. The middle + one edge makes 2.5 cm, leaving a small seam)
Then turn the bias tape under and press. Finish the seam:
   

If you have even less seam-allowance and can't make the 2,5 cm wide seam consider using a contrasting color for the seam at the back. This won't be visible from the inside but will look neat from the outside.

14. Finally press again all of the finished edges.


As you can see the wider side seams add a professional looking finish:
   

15. The very last step is to make your rails and rods to size.
- The width of the upper rail need to be the same as the finished width of the shades.
- Make the rods and bottom bar 0,5 cm shorter.
You can choose to hand-stitch the pocket-openings after placing the rods back.

Note:
Because on some of the blinds there was just a very small seam-allowance on top I had to attach bias tape to get a 2,5 cm (=1 in) seam to sew the velcro on. I did it with a zigzag stitch which also keeps the fabric from unraveling, since this part won't be visible.
The purpose of the bias tape is not only to help to make a neatly folded seam but also to reinforce the fabric. On the right the finished folded back seam which will be covered by the velcro:
   

Monday, October 28, 2013

Bathroom and house progress


Can you believe that in between my knitting projects (I've already finished a new jumper project!), schoolwork (I'm following a post-bachelor  clinical instructor course from september until june next year) we are still working on our renovation project? In the meantime a little longer than a year but finally, the last huge project, the bathroom is close to the finish! I can't believe we've done it all by ourselves... We still need to paint the staircases ordered the last few heaters and right now I'm busy with sewing Roman blinds for the living room. Hopefully we can move in next month!

1941 coat inspiration


What a beautiful silhouette has the coat on the left! Ladies, get your corsets ready...
"Worth's superlative coat in heavy black cloth with slender bodice and swing skirt. Two huge panels and epaulets of gleaming silver fox add magnificent flourish"


The one on the right could fit our fuller body shape and has a really interesting pocket solution with a flattering, fur-trimmed collar and an asymmetrical closure:
"An unusual pocket effect and diagonal closing are featured in this coat of nigger-brown* wool. The pointed collar, a modified Peter Pan, is of mink."


edit:
*As Tina kindly pointed out African Americans could find the term used in the color description of the second coat offensive. Sorry for that. I felt that by leaving that word out I would apply censure to the original contents which wouldn't feel right. The term as used here was widely used back in the 30's and 40's to describe a rich, dark brown color.

Thursday, October 24, 2013

1942 Lacy gloves on two needles - 3/3


The last installment of this project. There is still enough time to start knitting as a Christmas present! In the previous posts I explained the construction of the gloves and discussed the lace pattern. In this post: my adjustments and notes plus the original pattern.
Click for part 1 here and part 2 here.

material
The wool I used is my current favorite, DROPS Baby Merino. It is a fingering weight 100% Merinos wool, a superwash-treated yarn. I wrote about it here. Since gloves usually are exposed to friction you can expect more problems with felting when using untreated wool. I'd suggest to use a superwash-treated or a mix-yarn. Acrylic can be a good option as well. I found that my version used up about the same amount of wool as the original: 2 oz. wool which is about 60 g. Again, a great way to use up some of your left-over yarn from previous projects.

my pattern notes 
- Yarn used: drops baby merino, needle size 3-3.5 for size M gloves
- Tension: 7 sts to the inch (28 sts for 10 cm)
- the amount of stitches is the same as the original, only the amount of rows is adjusted some places.
- to make counting the stitches easier I placed a stitchmarker next to the 24 stitches of the lace pattern (right from the first stitch of the lace pattern)
- instead of counting the stitches of the gusset as suggested by the instructions I placed two stitchmarkers right and left from the gusset increase.
- instead of increasing by knitting two stitches into one I used the method which picks up a strand between two stitches of the previous row illustrated here.
- Used a row-counter, this makes easy to keep track on the lace pattern and to knit the right amount of rows for the fingers as well.


my adjustments
- I adjusted the length of the hand and did only 16 rows instead of 18 after finishing the thumb gusset.
- I adjusted the length of the fingers, since I found the originals way too long (although I have pretty normal hands and certainly no short fingers)
thumb: 16 rows + top shaping
first finger: 20 rows + top shaping
second finger: 22 rows + top shaping
third finger: 20 rows + top shaping
fourth finger: 18 rows + top shaping

the original pattern
Note: I found two printing errors in the instructions:
- for making the first finger: start with 36 sts instead of 34, in order to end up with the 18 sts for the front and 20 for the back as stated.
- when knitting the 2-3-4th fingers you need to pick up the stitches facing the wrong side.

Pattern 1/3: Materials, tension and abbrevations:


Pattern 2/3: Left-hand glove, thumb 
(read left column, then right column)


Pattern 3/3: Continuing left hand, right hand and to make up 
(read left column, then right column)

Monday, October 21, 2013

1942 Lacy gloves on two needles - 2/3


Have you started to knit already? In this post we continue the construction and stitch up the gloves. I also explain the pattern chart of the lace insert.
Click for the previous post about the construction here.

stitching
Turn the gloves inside out before stitching. Sew the thumb first, starting from the fingertop, down the side. Because you picked up the stitches between the fingers, the fingers are already attached to each other.


Continue with the sides of the other fingers top down, carefully reinforcing the piece between the fingers with a few extra stitches:


The fingers look like funny sausages!


As I don't like thick seams I used the same 'flat seam' method I described here. Instead of working from the fourth finger down along the sides I started to sew the cuff from the bottom up. The reason is to avoid knotting and darning in ends at the bottom end of the cuff:


I finished the side of the hand starting from the finger down and darning in the ends along the upper part of the cuff:


If you do it right you can work almost seamless:


the lace pattern
The main feature of these gloves are the pretty lace patterned backs. The lace pattern is 24 sts wide and 12 rows high. To avoid disappointment because of any irregularities I'd recommend to (re)count the lace stitches in every row. Although not instructed I'd recommend to place a stitch marker next to the first stitch of the lace pattern. That way you'll always know where to start and where to end your pattern. As always, I worked with a visual pattern chart.


the pattern chart


After the first 12 rows of pattern as in the chart above (the pattern unit starts from the vertical line on the right and ends at the horizontal line on top) 
did you know...
...that lace patterns are made up using three basic stitches: yo (yarn over) which creates the holes, k2tog (knit two together) which makes your stitch next to the hole lean to the right and sl, k, p.s.s.o. (slip one, knit one and pass slipped stitch over) which makes your stitch next to the hole lean to the left. 
   

reversing the lace pattern
The pattern instructs to reverse the lace pattern for the other glove to make them look symmetrical. This is not as hard to do as it seems. you just need to mirror it and replace the K2TOG's (=knit two together) by PSSO's (=slip one, knit one, pass slipped stitch over) and the PSSO's by K2TOG's.

Next up: my adjustments, pattern notes and the original pattern.